Welcome to Eureka's July bloghop! We have a brand new design team with lots of talented ladies! You should have arrived here from Sarah V's blog; if not, and you'd like to go through the hop from the beginning, then head over to QKR Stampede!
I purchased a new punch last week, and decided to have fun stamping on the punch-out itself. I thought if I stamped my design on the trellis itself, it would be an amazing effect. I'll be honest, it didn't work quite the way I hoped, but it was a lot of fun, and I have a good idea now of what works and what does not. I spent all day playing with the ideas, and I've decided I might as well share what didn't work as well as what did, so perhaps someone will spend more time being successful. I hope if you do come up with some ideas, you'll share them with me!One reason that I picked the butterfly background stamp is that it is one of my favorites, and it was a pert I wanted to find a way to use it without having to spend a lot of time coloring (though as you'll see, I did color a couple of panels). I am much more of a crafter than an artist, so coloring is not my strong point. In fact, it was very rare when my children were little that I could bring myself to color with them ... I think the trauma of being the last kid in elementary school to be able to color inside the lines has never quite left me! :-) Anyway, between my permanent setting on "slow" for cardmaking, and near-paralysis in choosing what colors to use, I liked the idea of a quicker card with the image!


It's pretty obvious in looking at the first two cards how they were created. I'll just add that when punching the image, be sure to have trimmed off about 3/16ths of an inch of the image before punching, unless you want it flush with the edge of the card. If you are a little shaky as I am with my hands, you might want to use temporary bond glue when matching the punched trellis to the panel (and I did not trim the ends separately; I trimmed the whole thing together after attaching). I then gently lifted the edges to add a more permanent bond.
For the purple card, I traced the edge of the trellis onto the vellum, then trimmed it. For the second card, I overlapped the blessings text to make it pop out a little more, and pull it all together. In this card, the raised look of the trellis, which doesn't really show in this photo, is really nice.
The third card is a single panel like the other two cards; I cut one inch strips of vellum and glued them to the back of the trellises before attaching to the panel. My new punch is flawed, and will not cut the strips straight, but happily, using white on white, it does not show. I thought of this idea last minute, and with only an hour before sunset to take the picture for this hop, I have it only temporarily bonded here, and promptly disassembled after taking the photo so the glue can set better. This is always important to do with a card, but especially when working with vellum. We'll see what I really end up doing with it after the glued panels have cured!
The pictures down below are from my playing around with various ideas. At first, I didn't think stamped on trellises looked good uncolored, so I started coloring them. I didn't finish coloring, though, as I suddenly realized my punch was crooked, and I would not have been able to use these particular trellises, but I still thought it might be beneficial to see how well combinations of cardstock colors, colored trellises, backgrounds, etc, could look. It was funny after all my efforts with the trellises, that what looks best, at least to me, is just a plain old trellis over the design! What do you think?
1. With the blank background, it's not easy to recognize the butterflies. It's a little hard to tell here, but the design is actually more discernable where the butterflies are not colored!
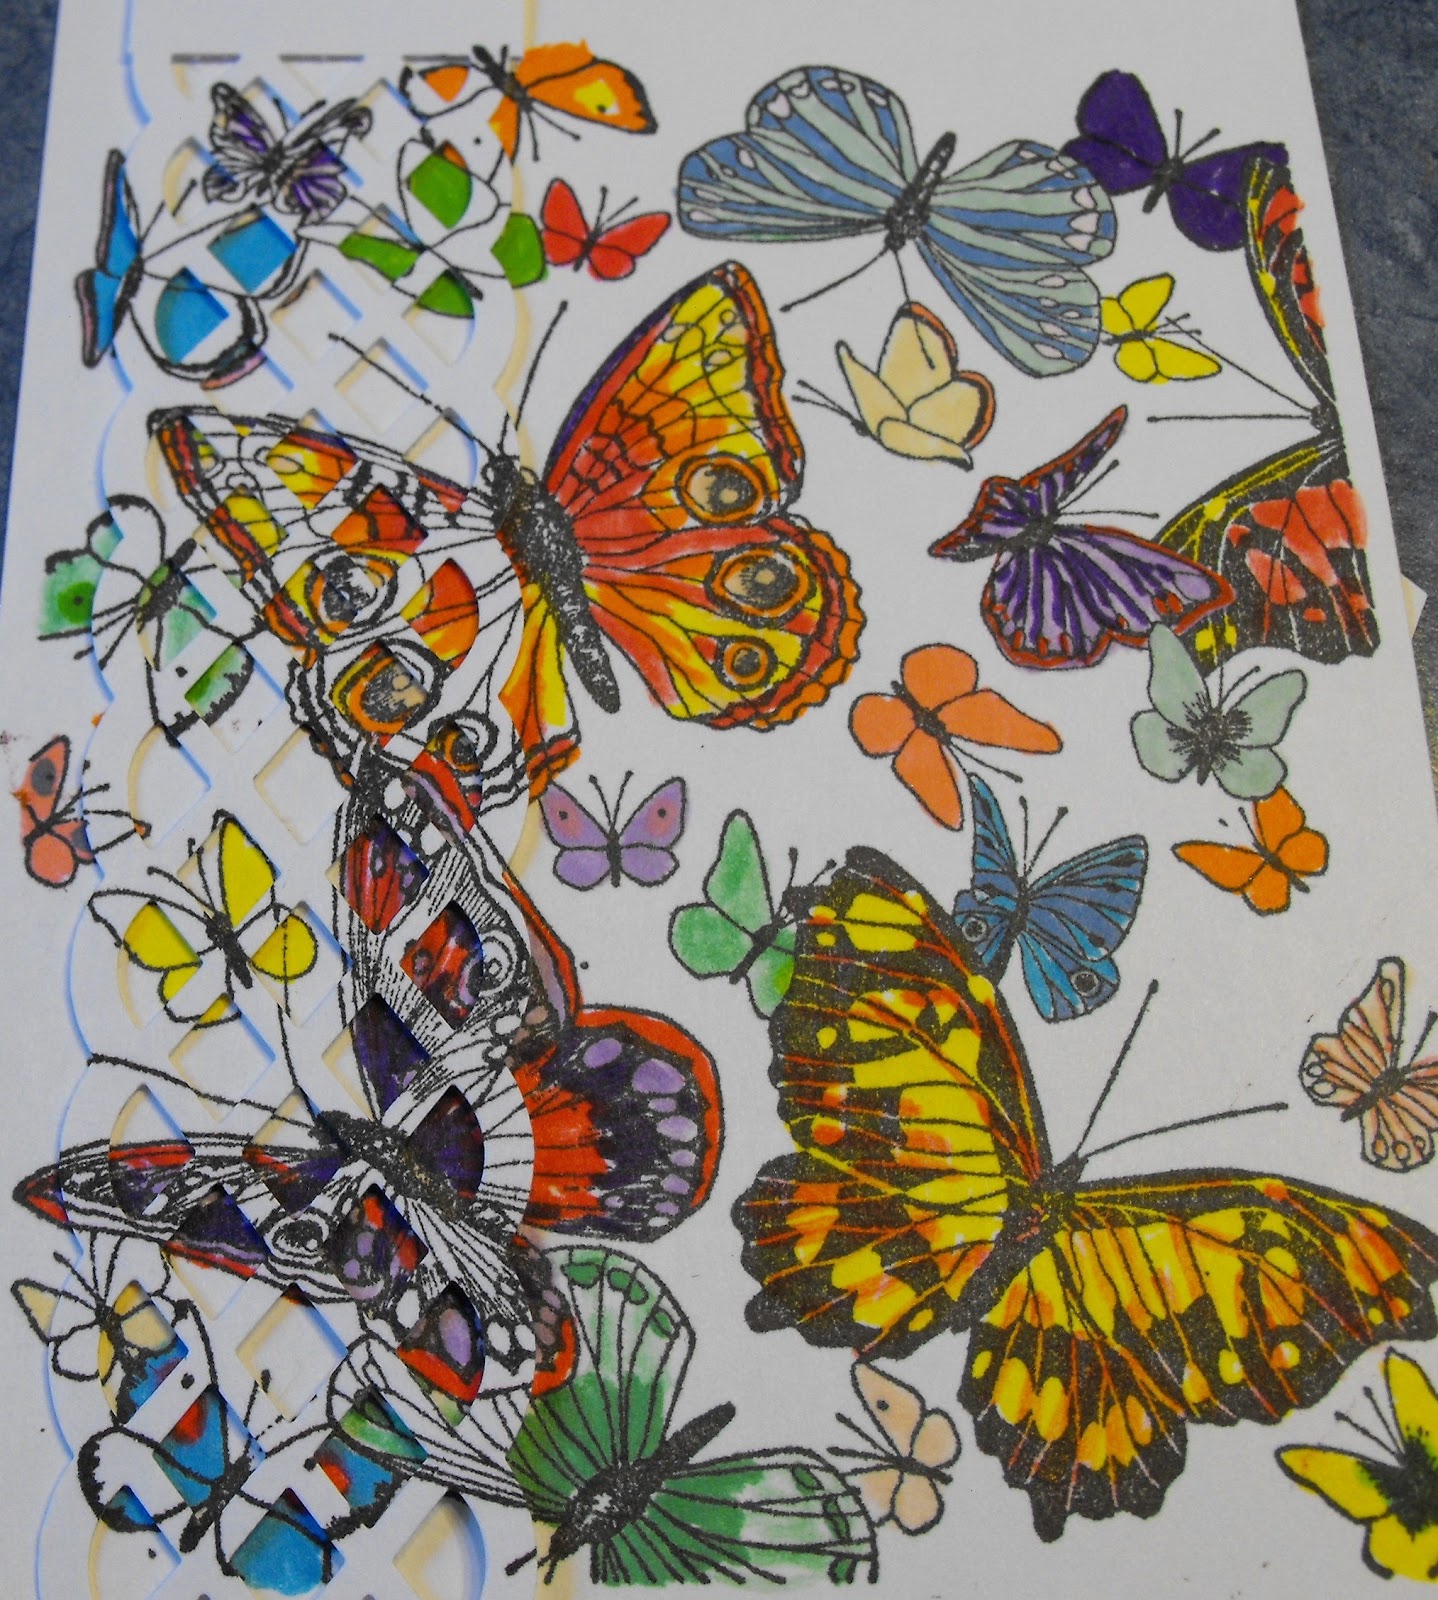
3. This is colored trellis over b/w panel. Best by far, but not enough to make me want to finish a card with this option.

4. The butterfly pattern is much more discernible this way when placed on a color; the darker the color, the more it stands out. If I liked coloring more, I'd redo the trellises and make a card.

5. And here we have the plain trellis ... much less bother (er, except for the lengthy coloring time!) and much classier! :-)
13 comments:
Great tips Sarosa I'd never have thought of doing that Px
What great ideas and I really love that you showed us the different effects. This is a favorite stamp of mine too, love to cut it up and color it in different ways. My favorite is the one with the green, pink and blue panels behind.
So glad you are on the team again this term!
Fantastic post !!! love seeing all the different way you can use this image .... lovely to be on the team with you xx
Lovely card and great post. Looking forward to working on the DT with you. Katie x
I love butterflies and your card is fab, I look forward to working with you on the team xx
Gasp!!!! I love the trio of pastels card, that one took my breath away!
Nice variety of cards, great use of the butterfly background!
What a gorgeous stamping effect!! LOVE your cards!! Thanks for the inspiration!!
I'm looking forward to being on the DT with you!!
Great card, love the technique. Looking forward to working with you.
These cards are amazing. All so different! I love them all!!
- Susan
http://scrappingathousandwords.blogspot.com
Wow! Great job and great technique! Thanks for sharing.
Yowza Sarah you were a busy woman! The butterfly are outstanding-- and that punch-- love it!
Pretty cards!! Love the digi stamp and love the punch details!
Post a Comment